

chief-mcp binary — see
MCP server → Install.
The quickest way to configure a client is the chief CLI
(install it too), which fills in the installed binary path and your credentials:
- Claude Code —
.mcp.json(project) or~/.claude.json(user), or runclaude mcp add chief -- chief-mcp stdio - Cursor —
.cursor/mcp.json(project) or~/.cursor/mcp.json(global) - Codex —
~/.codex/config.toml(emitted as TOML)
chief CLI? Every snippet below also works pasted in by hand — you only need
the chief-mcp binary.
To configure a client by hand, use the snippets below. Replace <api-key> and
<project-id> with your values.
Stdio transport
Use stdio when the agent runs the server locally as a subprocess.- Claude Code
- Claude Desktop
- Cursor
- Codex
- VS Code
mcpServers block use the same snippet
as Cursor.
HTTP transport
Use HTTP for remote or web-based integrations. Start the server, then point the client at its endpoint with credentials in the request headers.http://localhost:8080 and exposes the MCP endpoint at
/mcp using Streamable HTTP.
- Claude Code
- Cursor
Verify the connection
After configuring a client, restart its session — MCP servers are long-lived stdio processes that don’t hot-reload.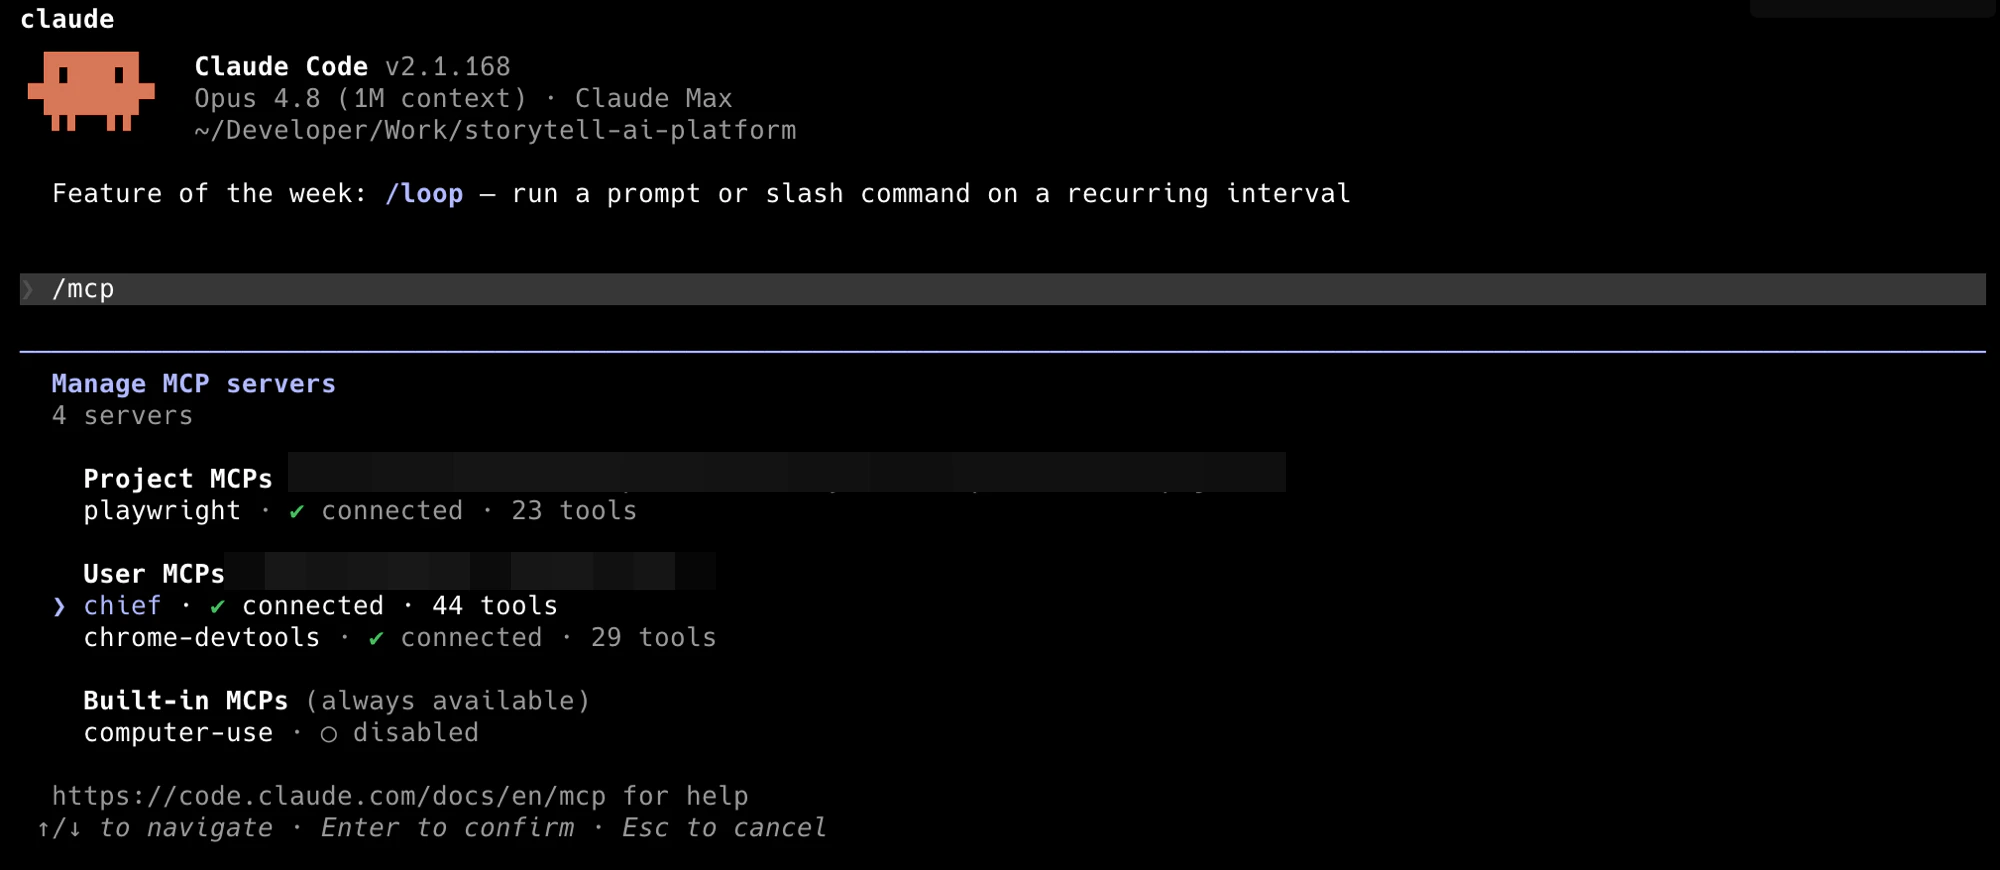
In Claude Code, /mcp shows the Chief server connected with all 44 tools.