

PUT bytes to blob storage, then complete ingest on the server.
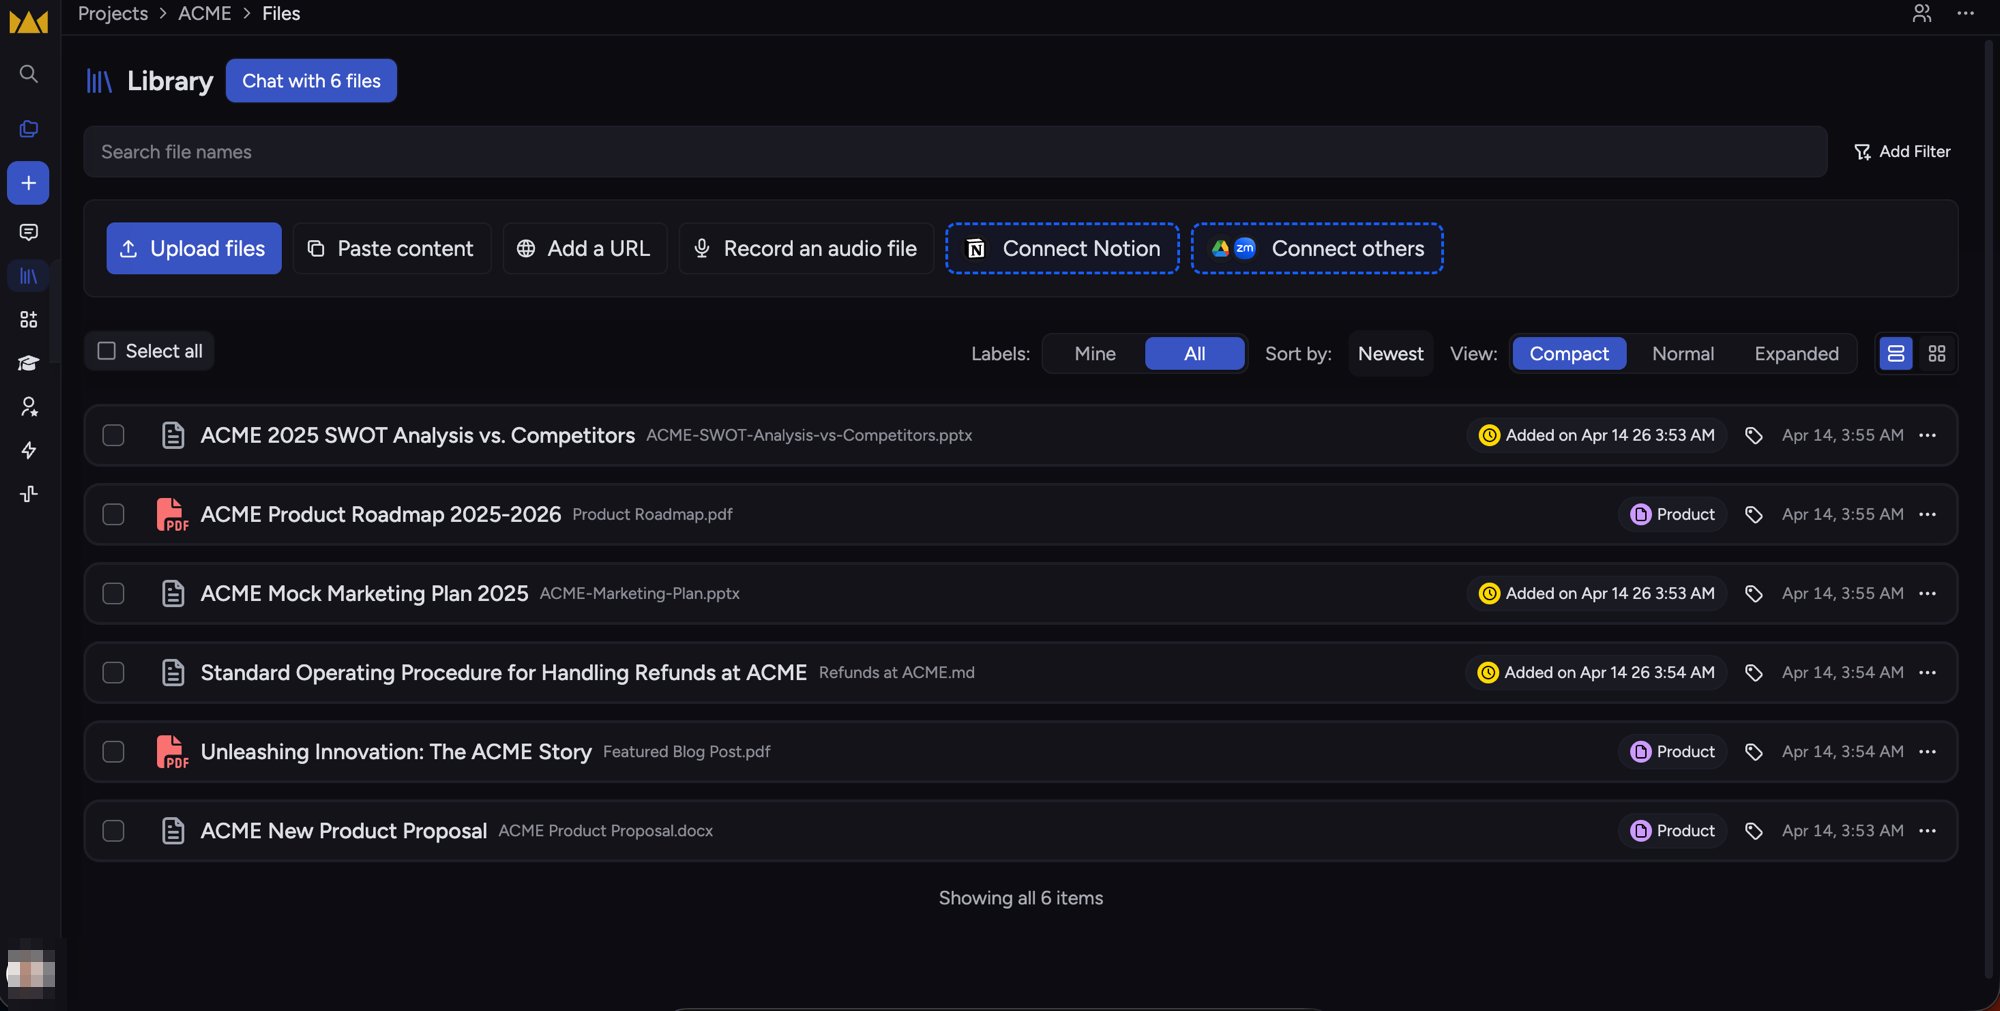
Uploaded assets land in your project's Library in Chief.
Lifecycle overview
Status values
Step 1 — Create upload slot
POST /v1/assets with filename and mime_type:
Step 2 — Upload bytes
PUT the file to upload_url. Apply every header in upload_headers exactly as returned. The URL expires at expires_at.
Step 3 — Complete ingest
POST /v1/assets/{id}/complete with an empty body. The server reads size and MD5 from blob storage and starts ingest.
GET /v1/assets/{id} until status is ready or failed.
List assets
GET /v1/assets lists assets in the project with the same cursor pagination as chats (after_id, before_id, limit).
Use assets in chats
After an asset isready, pass its id in chat scope.asset_ids so the assistant can consult that file. See Chats.
Labels
Attach labels withPOST /v1/assets/{id}/labels. See Labels.